Did you know that with just a few household items, you can create a working egg incubator? While commercial incubators can cost anywhere from $100 to $500, resourceful farmers and hobbyists have found creative ways to hatch eggs using simple tools. In many rural communities, people successfully hatch chicks with DIY incubators made from boxes, light bulbs, or even water bottles.
Why does this matter? If you’ve ever dreamed of raising your own flock of chickens, ducks, or quail, having an incubator gives you independence and control over the hatching process. More importantly, it’s an exciting hands-on project that combines science, sustainability, and self-reliance.
In this article, you’ll learn step by step how to build a homemade egg incubator using a water bottle, the science behind how it works, and practical tips to increase your hatching success rate. By the end, you’ll see how a low-cost, DIY approach can be surprisingly effective in supporting small-scale poultry projects.
The Science of Egg Incubation
Before diving into construction, let’s understand what an incubator does. For an egg to develop and hatch, three conditions must be met:
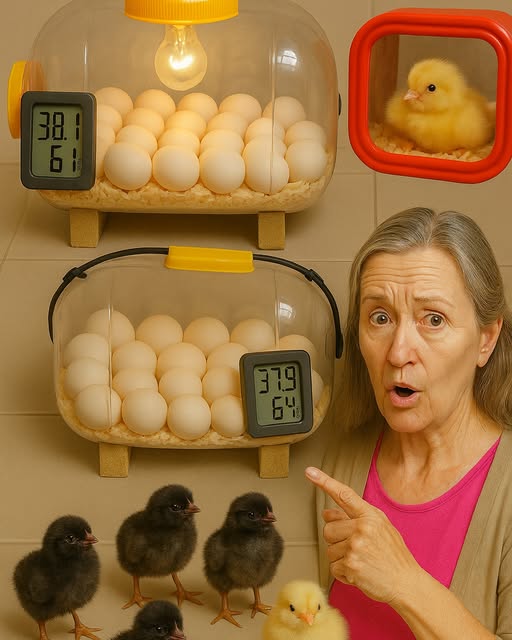
- Temperature: Eggs need a consistent temperature around 99–102°F (37–39°C).
- Humidity: Proper moisture prevents the egg from drying out; humidity levels should range between 40–50% early on and 65–70% in the final days.
- Ventilation: Developing embryos require oxygen and produce carbon dioxide, so airflow is essential.
Commercial incubators regulate these automatically. A homemade water bottle incubator relies on simple physics—warmth from heated water, insulation to trap heat, and small vents for air exchange.
Materials You’ll Need
Building this DIY incubator is inexpensive and straightforward. Here’s a list of essentials:
- 1 large insulated box (Styrofoam or cardboard lined with insulation)
- 2–3 plastic water bottles (1–2 liters each) with caps
- A desk lamp or small heating element (optional backup for consistent heat)
- A household thermometer and hygrometer (to measure temperature and humidity)
- Cotton cloth or towel (for insulation and moisture control)
- Eggs for incubation (fertile, fresh, not washed)
Optional: A small fan for airflow, and an egg candler to check development progress.
Step-by-Step Guide to Building the Incubator
Step 1: Prepare the Box
Choose a sturdy box that can retain heat. If using cardboard, line it with towels or Styrofoam sheets for insulation. Cut a small window on top and cover it with clear plastic so you can monitor eggs without opening the lid.

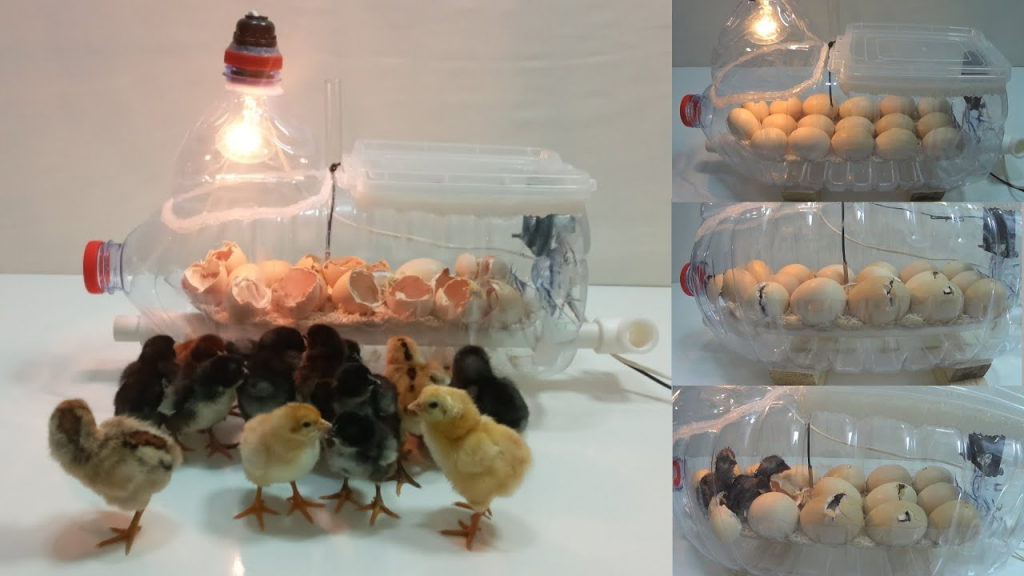
Step 2: Heat Source with Water Bottles
Fill the water bottles with hot water (around 110°F / 43°C) and seal them tightly. Place them inside the box around the eggs. The bottles act as heat reservoirs, releasing warmth slowly to maintain the required temperature.
To stabilize heat, replace or reheat the water bottles every 6–8 hours. For added consistency, you can position a desk lamp outside the box, shining light through a side hole.
Step 3: Add Moisture and Humidity Control
Lay a damp towel or small water dish inside the box to increase humidity. Monitor levels with a hygrometer, adjusting as needed by adding or removing water.
Step 4: Ventilation
Punch a few small holes in the sides of the box for airflow. Cover them loosely with cloth to prevent heat loss while still allowing oxygen in.
Step 5: Arrange the Eggs
Place the fertile eggs in the center of the box, not directly touching the hot bottles. Turn them gently 2–3 times daily to mimic a hen’s natural movements until three days before hatching.
Monitoring and Maintenance
Your success depends on consistent monitoring. Here’s what to check:
- Temperature: Keep it between 99–102°F. Use a reliable thermometer placed at egg level.
- Humidity: Adjust water and cloths to maintain proper humidity.
- Turning: Mark eggs with “X” and “O” using a pencil to track rotation.
- Candling: Shine a light through eggs at days 7, 14, and 18 to monitor embryo growth.
Consistency is key. Small fluctuations are fine, but large swings in temperature or humidity can harm developing chicks.
Real-Life Example
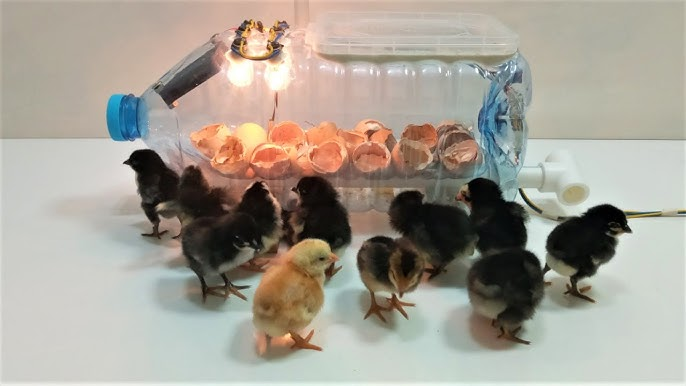
In rural Kenya, smallholder farmers often use makeshift incubators when electricity is unreliable. By combining insulated boxes with heated water bottles, they achieve hatching rates as high as 70%. While this doesn’t match commercial equipment, it provides families with a sustainable way to grow poultry flocks and increase food security.
Similarly, backyard farmers in the U.S. have documented successful hatches using this method, especially in educational projects where children learn biology and sustainability through hands-on experience.
Tips for Higher Success Rates
- Use fertile eggs no older than 7 days.
- Keep the incubator in a room with stable room temperature (avoid drafts).
- Reheat water bottles consistently at the same times each day.
- Reduce handling in the last three days before hatch (lockdown period).
- Expect a 50–70% hatch rate with DIY methods compared to 85–95% with professional incubators.
Quick Reference Table
| Step | Action | Goal |
|---|---|---|
| Heat source | Water bottles filled with hot water | Maintain stable warmth |
| Humidity | Damp cloth or dish of water | Prevent eggs from drying out |
| Ventilation | Small holes with cloth covering | Provide oxygen, release CO₂ |
| Egg turning | Rotate 2–3 times daily until day 18 | Prevent embryos from sticking |
| Monitoring | Thermometer + hygrometer inside box | Ensure stable incubation environment |
Conclusion
Building a homemade egg incubator with a water bottle is more than a DIY project—it’s a lesson in resourcefulness and sustainability. While it may not replace high-tech equipment, it provides a practical solution for small-scale farmers, educators, or anyone curious about hatching chicks. With careful monitoring of heat, humidity, and egg rotation, you can experience the wonder of life emerging from an egg using just simple household items.
FAQs (Quick Takeaways):
- Can I really hatch eggs this way? Yes, though success rates may be lower than professional incubators.
- How often should I change the water bottles? Every 6–8 hours, or whenever they cool significantly.
- Do I need electricity? No, though a backup lamp helps stabilize temperature.
This article is for informational purposes only and is not a substitute for professional agricultural or veterinary advice. Always consult an expert if you plan large-scale hatching projects.